Create layouts based on templates
 | Use Toolbox > Lettering to create embroidery lettering directly on-screen. Right-click to access settings. |
|---|---|
 | Use View > Auto Start & End to toggle function on/off according to the current settings. Right-click to open the Auto Start & End dialog. |
Alternatively, you have access to complete EmbroideryStudio capabilities to create designs from scratch. Onscreen help is provided via the Help menu.
To create a layout based on a template...
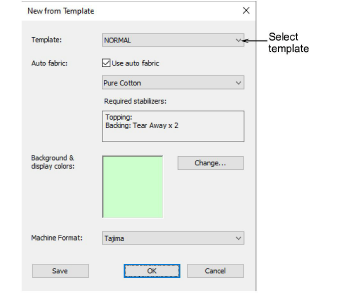
- If you are creating a design from scratch, use the File > New from Template command.
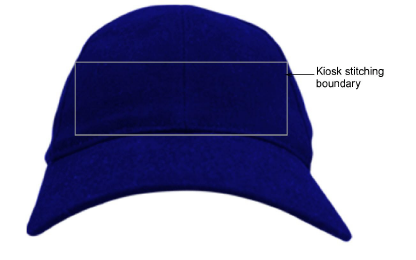
- Select a kiosk template if you have set one up. For example, you may set up your template to include a stitching boundary defining the area to work within, say, for cap designs. This can be drawn in CorelDRAW Graphics. You might also want to include a product image.
- Select the Lettering tool and create the text you require. Adjust settings such as font, dimensions, etc.

Note
To ensure that text remains within the allowable boundary, it is safest to use the Fixed Line baseline.
- Change thread color as desired.
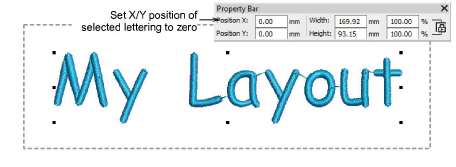
- Set the lettering object position to zero (0,0) as shown. This will ensure that the lettering layout automatically centers itself in the allowable stitching area.
- When you are happy with the result, click Save.
The file must be saved to the EmbroideryStudio e4 Designs folder:
C:\Program Files\Wilcom\EmbroideryStudio_e4.0\Kiosk\Designs
Alternatively, set your own designs folder.
- The design will appear in the kiosk design chooser when you next run it.